First sign-in and profile setup
Updated
This is how you set up Sigil after registering. It is done once, takes about ten minutes, and after that you can file your first declaration.
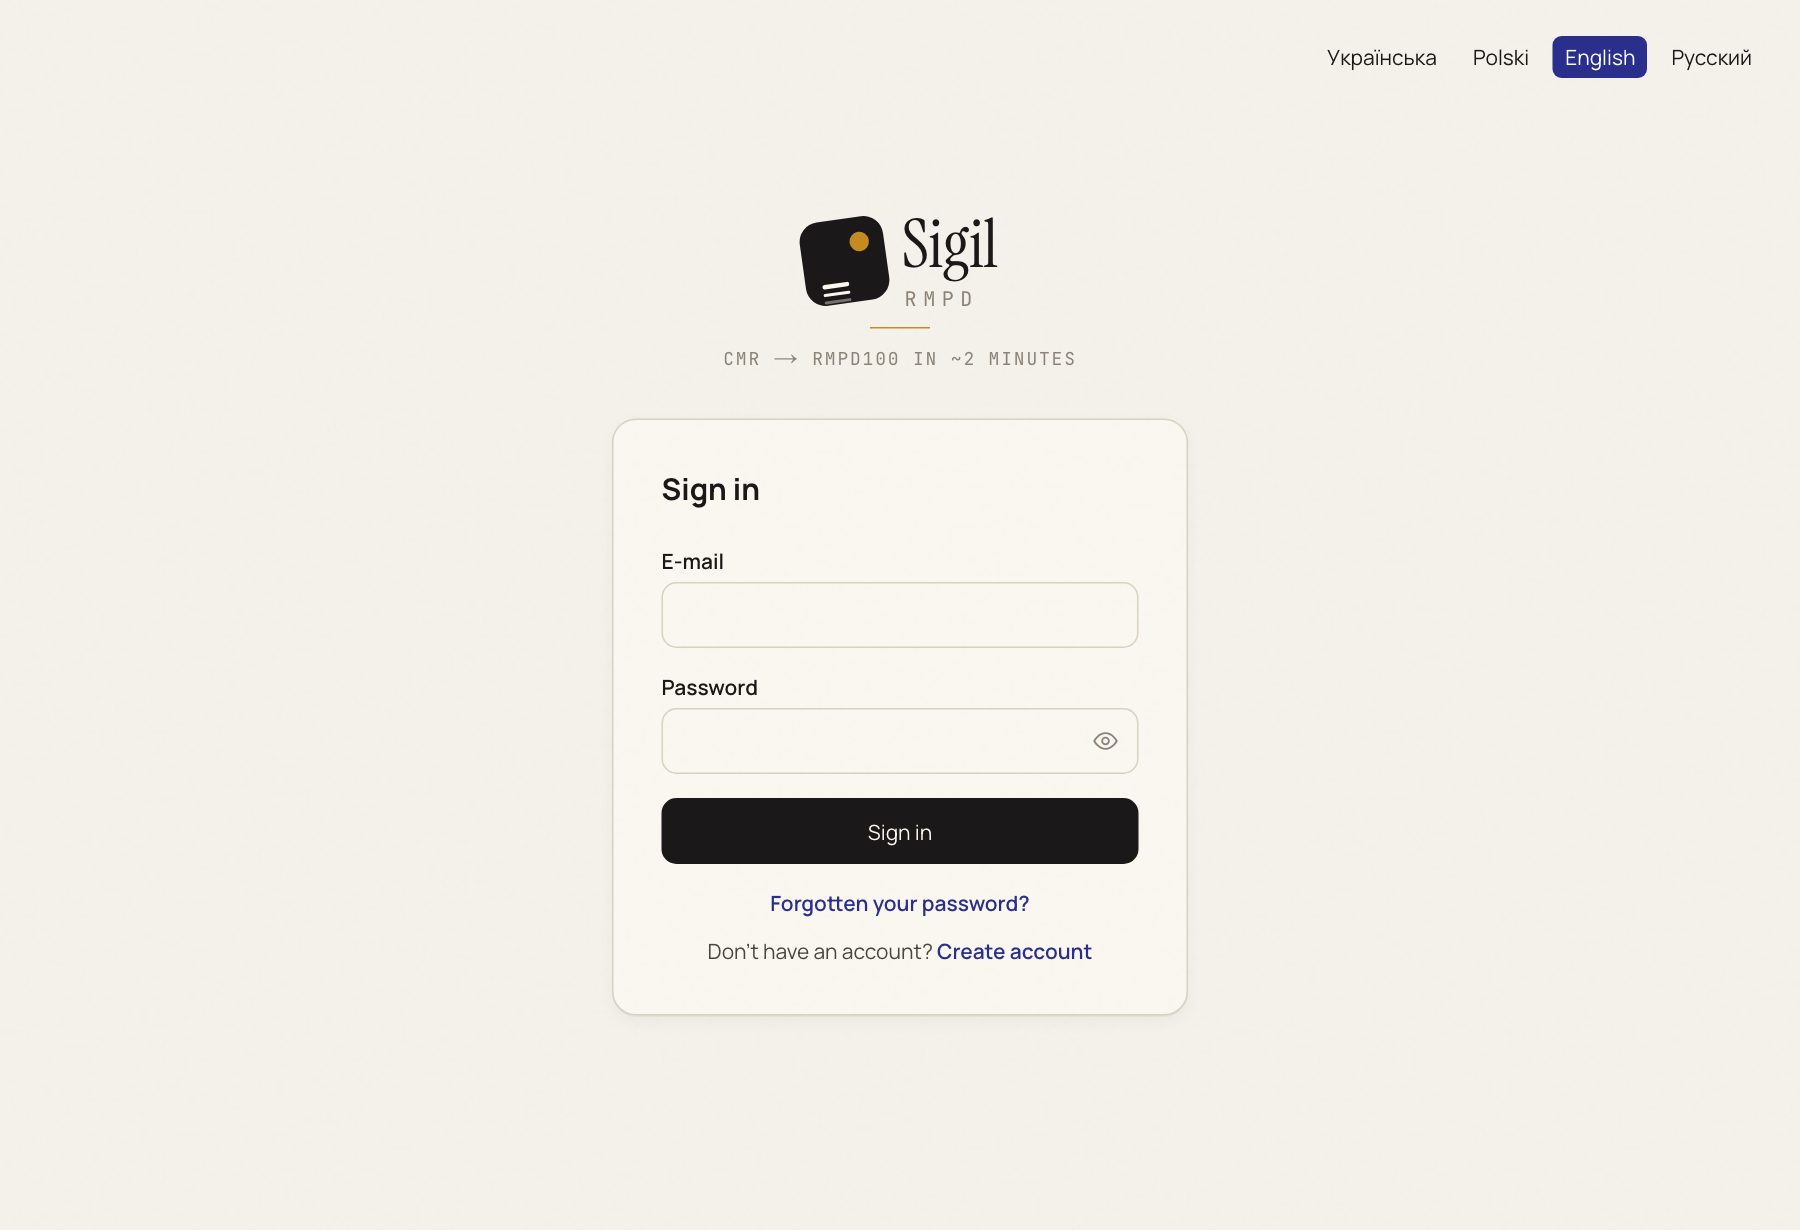
- Sign in with the e-mail and password you gave at registration. The "Set up Sigil" screen opens with three steps.
- Step "Your Sigil account": check that your first and last name are written in Latin letters. They go into section 8 of every RMPD. If they are in Cyrillic, fix them in Profile in the First name and Last name fields.
- Step "Connect PUESC": enter the Login (e-mail) and Password of your PUESC account and press Connect. Sigil checks them with PUESC straight away. A basic PUESC account is enough; which one a carrier needs is in the knowledge base: Which PUESC account a carrier needs.
- Step "Sync your history": press Sync. Sigil reads the last 365 days from PUESC: your declarations, tractors, trailers, locators, senders and consignees. It takes about 15 minutes in the background; you can close the page.
- After the sync, open Fleet and look through the tractors and trailers. Add what is missing: Adding a vehicle.
- If you drive on EKMT, check the books in Profile → Company profile → "EKMT books".
What happens next
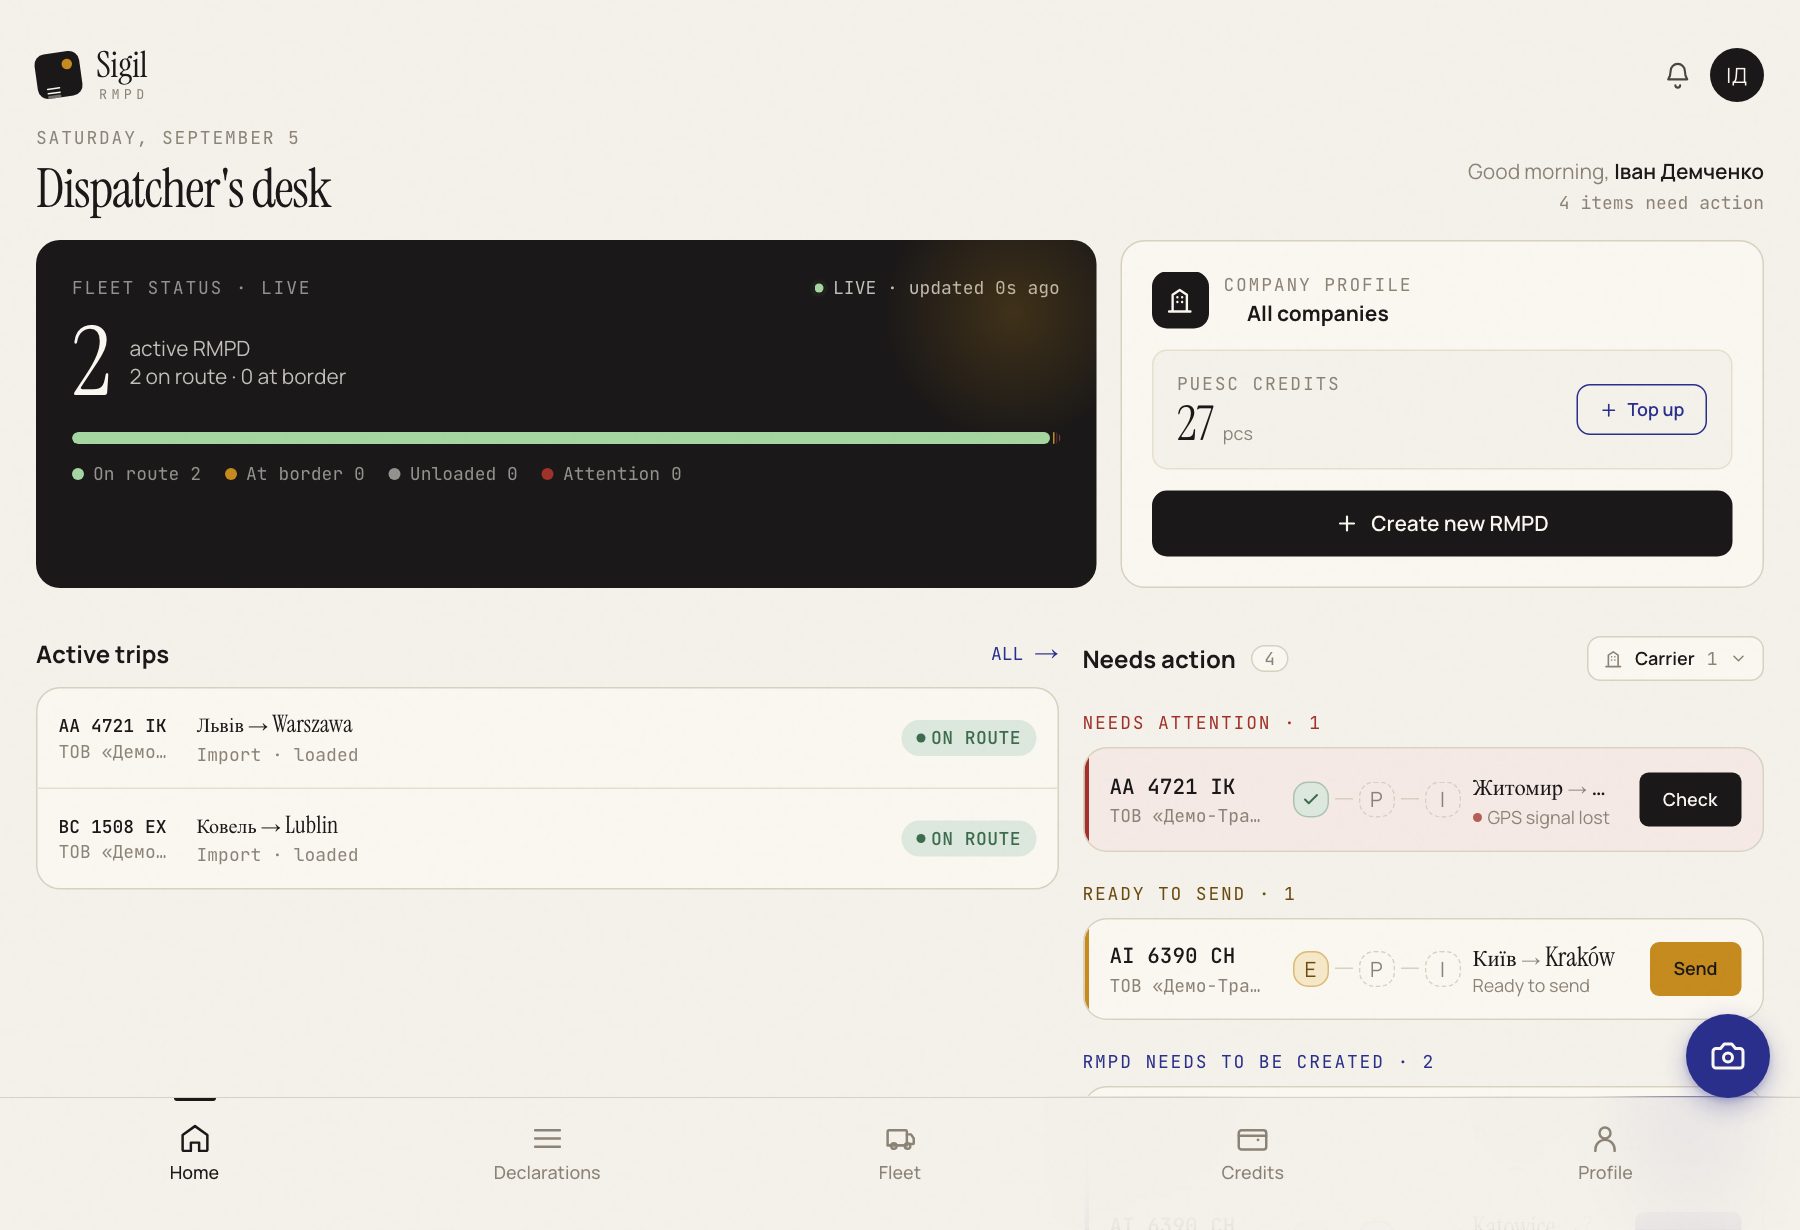
The home page shows your active transports. Your first declaration: Creating an RMPD.
If something is wrong
- PUESC rejected the login and password. Check them on the puesc.gov.pl portal and try again. Sigil connects to the production PUESC; the test environment is switched on separately in PUESC account.
- You are not the account administrator. Only an administrator can connect PUESC; ask them.
- The sync is still running. Data appears gradually; wait and refresh the page.
See also
A demo or training for your team
30 minutes online. We show how Sigil™ files an RMPD from a CMR and answer questions about your runs.